
Creating a heartfelt, personalized greeting card doesn't require expensive design software or a trip to the store. With the power of a program you likely already have, you can craft beautiful, custom cards for any occasion. By using free blank greeting card templates for Word, you unlock a world of creative possibilities right from your computer. This approach is not only cost-effective but also allows you to add a unique, personal touch that a store-bought card simply can't match. Whether you're celebrating a birthday, sending a thank you note, or wishing someone well, Microsoft Word provides all the tools you need to design and print a professional-looking card in minutes.
The beauty of using Word templates lies in their simplicity and flexibility. These pre-formatted documents provide the basic structure of a card, including the correct layout and fold lines, saving you the hassle of setting up the page from scratch. You get a blank canvas ready for your creativity. You can easily insert your favorite photos, write a custom message in any font you choose, and add decorative elements to match the recipient's personality or the occasion's theme. This guide will walk you through everything you need to know, from finding the best templates to customizing them with your personal flair and printing the final product to perfection.
Forget about sifting through racks of generic cards that don't quite say what you mean. The ability to create your own greeting cards empowers you to express yourself authentically. It's a fun and rewarding process that results in a tangible, meaningful keepsake for your loved ones. In this comprehensive guide, we'll explore the best resources for templates, offer step-by-step instructions for customization, and share professional tips for printing and finishing, ensuring your homemade cards look anything but amateur. Get ready to transform a simple digital file into a cherished physical memento.

Why Use Microsoft Word for Greeting Cards?
While specialized graphic design software exists, Microsoft Word remains one of the most accessible and user-friendly tools for creating custom greeting cards. Its widespread availability and familiar interface make it the perfect choice for both beginners and those who want a quick, straightforward design process. Here's why Word is an excellent option for your DIY card projects.
Unmatched Accessibility
Nearly every computer with a Microsoft Office suite has Word installed. This means you don't need to purchase or learn a new, complex program like Adobe Photoshop or Illustrator. The tool you need is likely already at your fingertips, making it a zero-cost entry point into the world of custom card design. This universal accessibility ensures you can start creating immediately.

Intuitive and Familiar Interface
Most people have a basic understanding of how to use Microsoft Word for typing documents. This existing familiarity translates directly to card making. Inserting a text box, changing fonts, adding a picture, and adjusting colors are all functions you may have used before. The learning curve is minimal, allowing you to focus on the creative aspects of your design rather than struggling with complicated software commands.
Powerful Customization Tools
Don't underestimate Word's design capabilities. The program offers a robust set of tools perfect for personalizing your greeting cards. You can:
* Insert and Edit Images: Easily add your own photos, crop them, adjust brightness and contrast, and even apply artistic effects.
* Utilize WordArt and Text Boxes: Create stylish headlines and messages with WordArt, and use text boxes to place your sentiments exactly where you want them on the card.
* Access a Vast Font Library: Choose from hundreds of fonts on your computer or download new ones to perfectly match the mood of your card, from elegant scripts to playful block letters.
* Incorporate Shapes and Icons: Add simple design elements like lines, borders, stars, or hearts using Word's built-in shapes library to give your card extra visual appeal.

Cost-Effective Solution
Creating cards in Word is incredibly budget-friendly. The software is often pre-installed, and the templates we'll discuss are free. Your only real cost is the paper (cardstock) and printer ink. Compared to the price of premium store-bought cards, which can range from $4 to $8 each, the savings can be substantial, especially if you send cards frequently throughout the year.
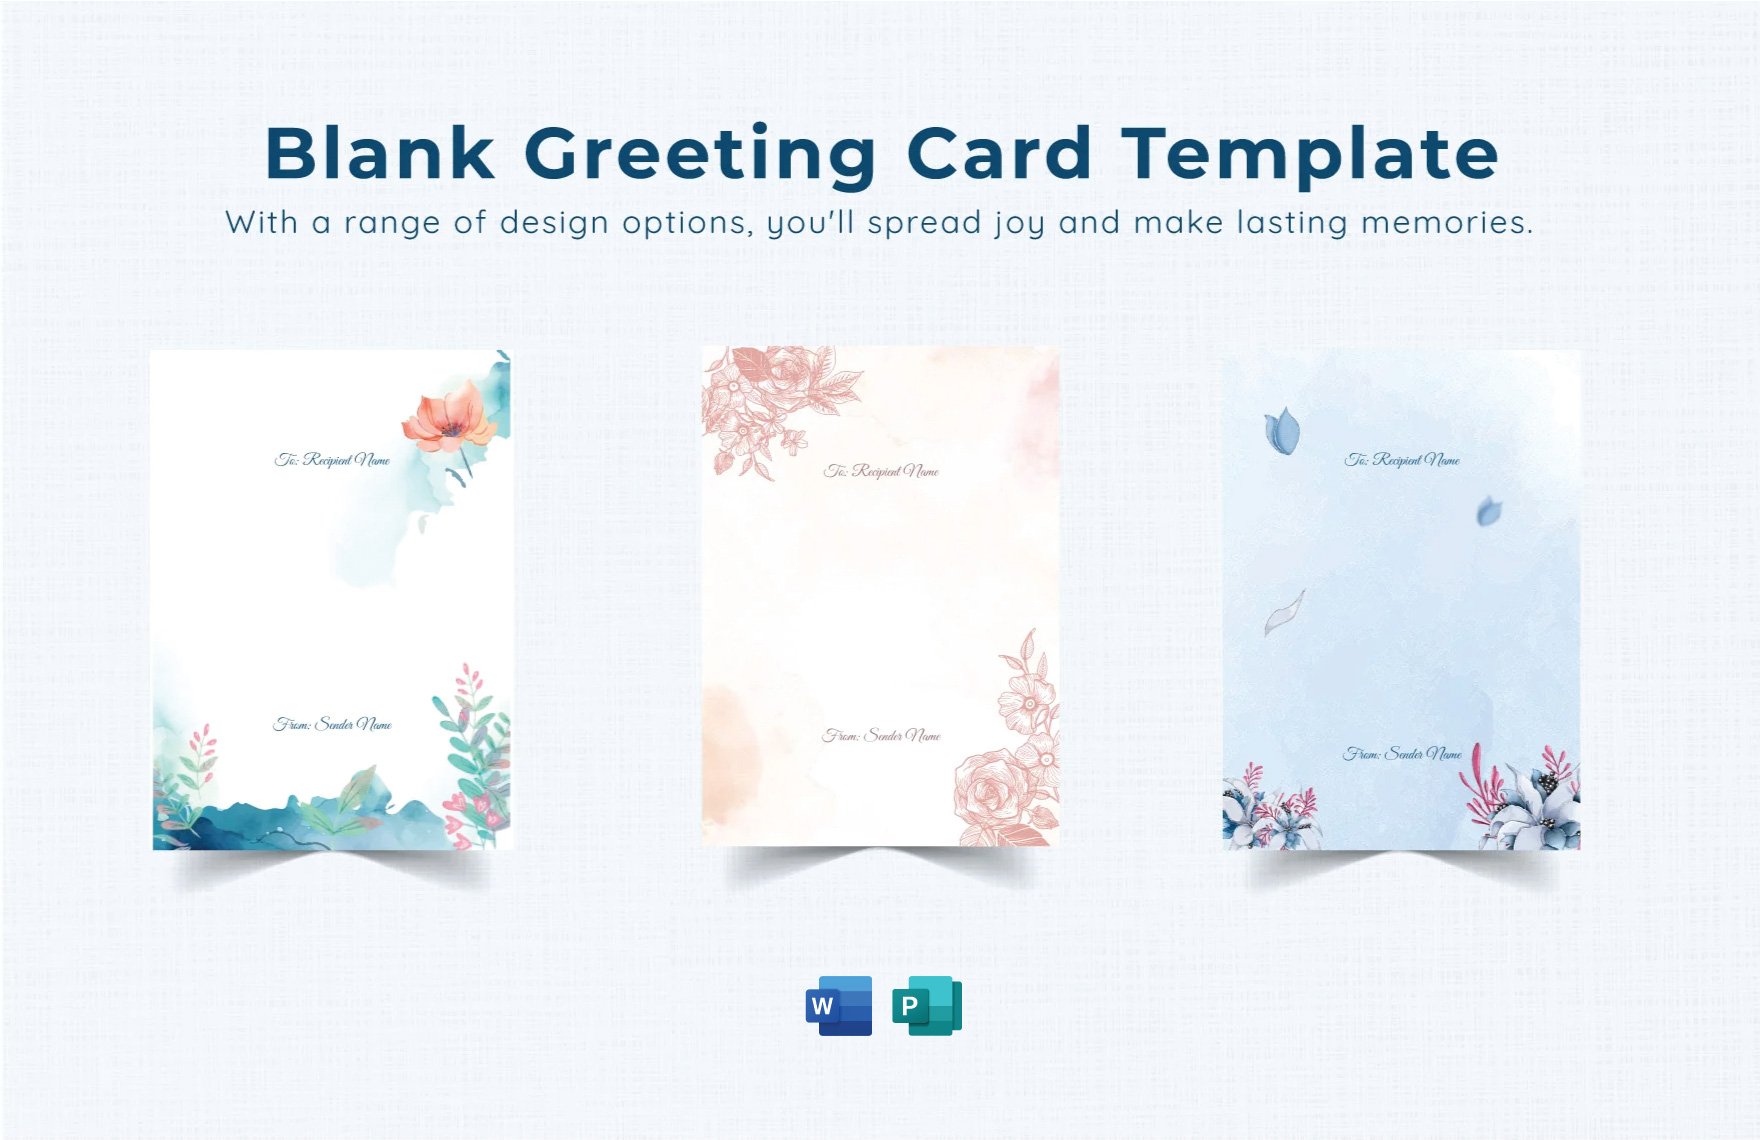
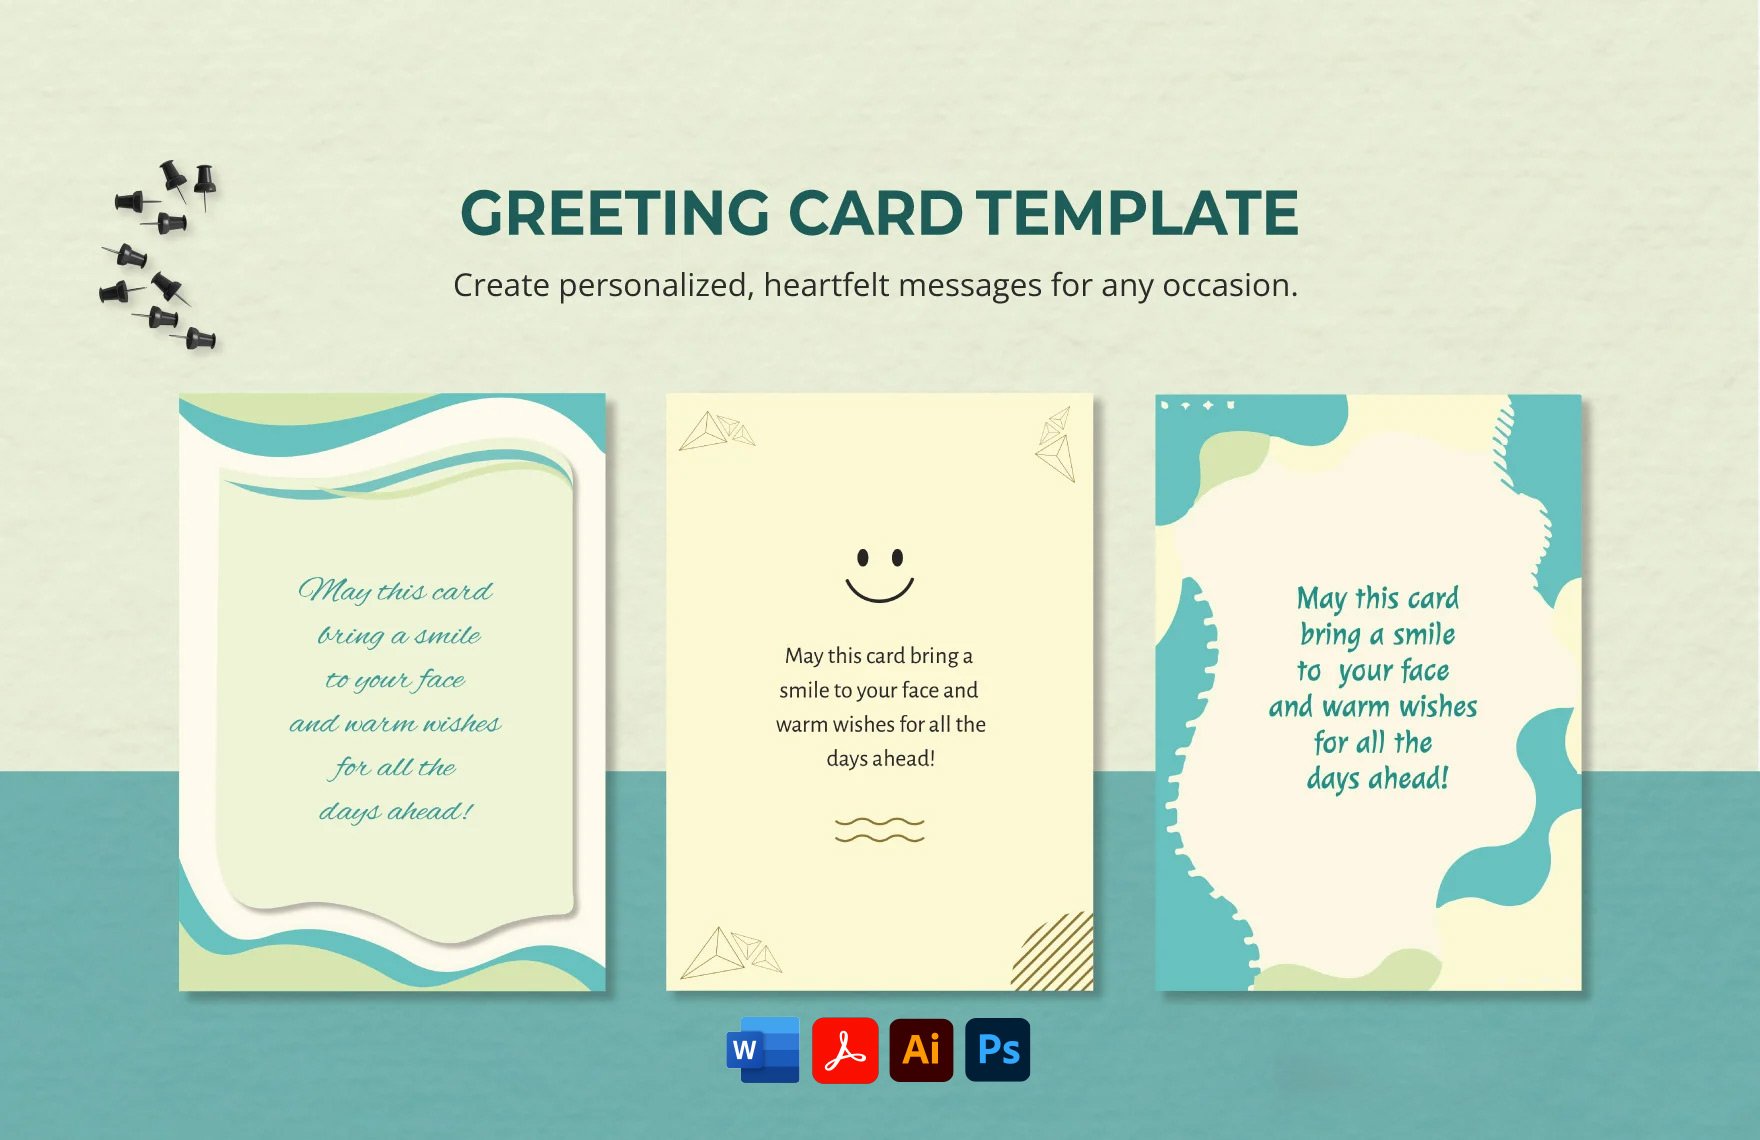
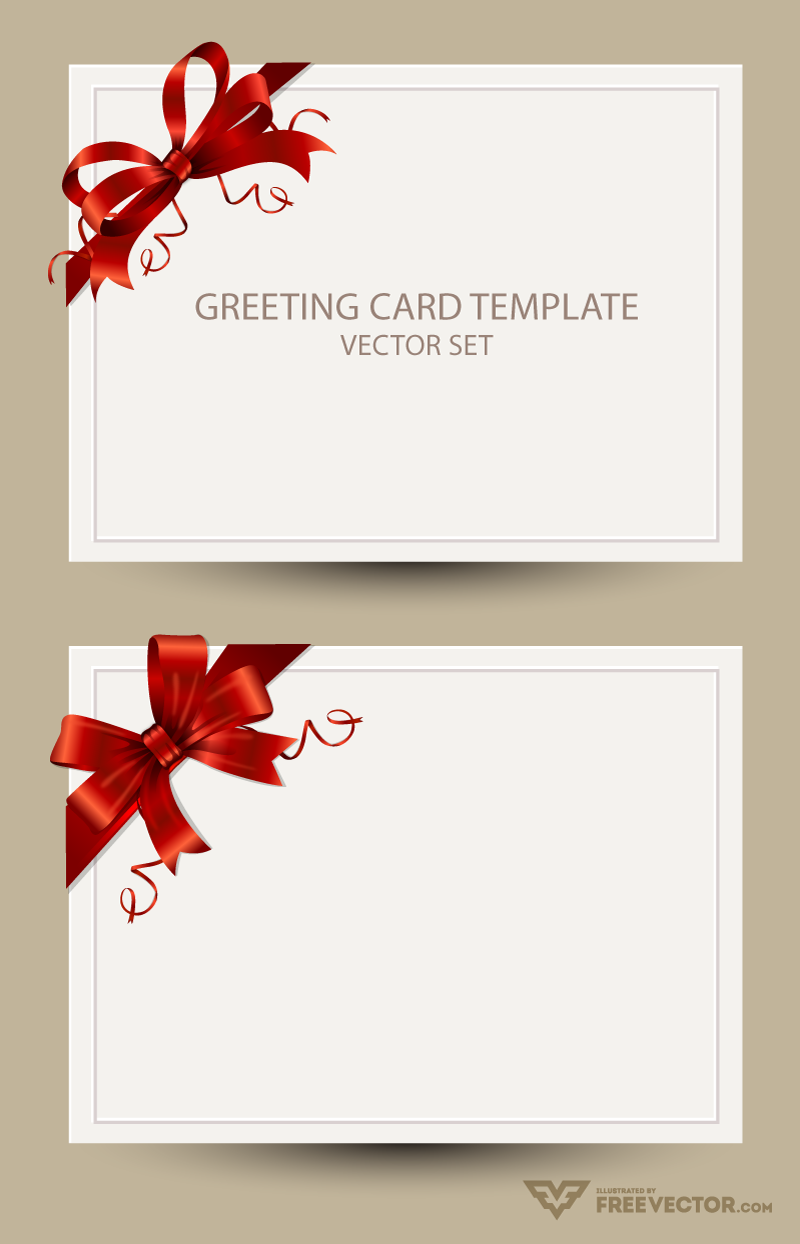
Where to Find the Best Free Blank Greeting Card Templates For Word
Finding a high-quality template is the first step to creating a beautiful card. A good template provides the correct layout and dimensions, so all you have to do is add your creative touch. Fortunately, there are several excellent sources for free templates.

Microsoft's Official Template Library
Your first stop should be Microsoft Word itself. The program has a vast, built-in library of templates for all kinds of documents, including a great selection of greeting cards.
To access them, simply:
1. Open Microsoft Word.
2. Go to File > New.
3. In the search bar at the top, type "greeting card," "birthday card," "thank you card," or simply "card."
4. Browse the results. You'll find a wide variety of designs, from photo-centric layouts to cards with intricate illustrations. Many of these are blank inside, providing the perfect canvas.

The advantage of using Microsoft's templates is that they are guaranteed to be perfectly compatible with your version of Word, ensuring a smooth and glitch-free editing experience.
Reputable Third-Party Websites
Many websites specialize in providing free templates for Microsoft Office. These sites often offer more unique or niche designs that you might not find in Word's native library. When searching online, use specific terms like "half-fold card template for Word" or "quarter-fold blank card template."
Look for websites dedicated to:
* Office Templates: Websites that focus exclusively on templates for Word, Excel, and PowerPoint are often a goldmine.
* Paper and Label Brands: Companies like Avery host extensive libraries of free templates designed to work with their paper products, but many of these can be used with any standard cardstock.
* Graphic Design and Craft Blogs: Creative bloggers often share free templates as a resource for their readers.

When downloading from a third-party site, always ensure it is a reputable source to avoid downloading malicious files. Look for sites with professional layouts and clear download instructions.

Key Features of a Quality Template
Not all templates are created equal. A great template should have a few key characteristics to make your job easier:
* Correct File Format: Look for files ending in .dotx (Word Template) or .docx (Word Document). A .dotx file is ideal as it opens as a new, untitled document, protecting the original template from being overwritten.
* Clear Fold and Cut Lines: A good template will often include faint, non-printing guidelines showing you where to fold and cut the card for a professional finish.
* Logical Layout: The template should be easy to understand, clearly demarcating the front, back, and inside panels of the card, especially for quarter-fold designs which can be confusing.
* High-Resolution Placeholders: If the template includes sample images or graphics, they should be high-quality to ensure your final printed card looks sharp, not pixelated.

A Step-by-Step Guide to Using Your Template
Once you've chosen your favorite blank template, it's time to bring your vision to life. This step-by-step process will guide you through opening, editing, and personalizing your card in Microsoft Word.
Step 1: Open and Save Your Template
If you downloaded a .dotx file, simply double-clicking it will open a new, unsaved document based on that template. The first thing you should do is save your project. Go to File > Save As and give your card a unique name, like "Mom's Birthday Card 2024.docx". This prevents you from accidentally saving over your blank template file.

If you are using a .docx file as your template, open it and immediately use Save As to create a working copy. This is a crucial step to ensure your original blank template remains clean for future use.

Step 2: Understand the Card Layout
Before you start adding elements, take a moment to understand how the template is laid out. There are two common formats:
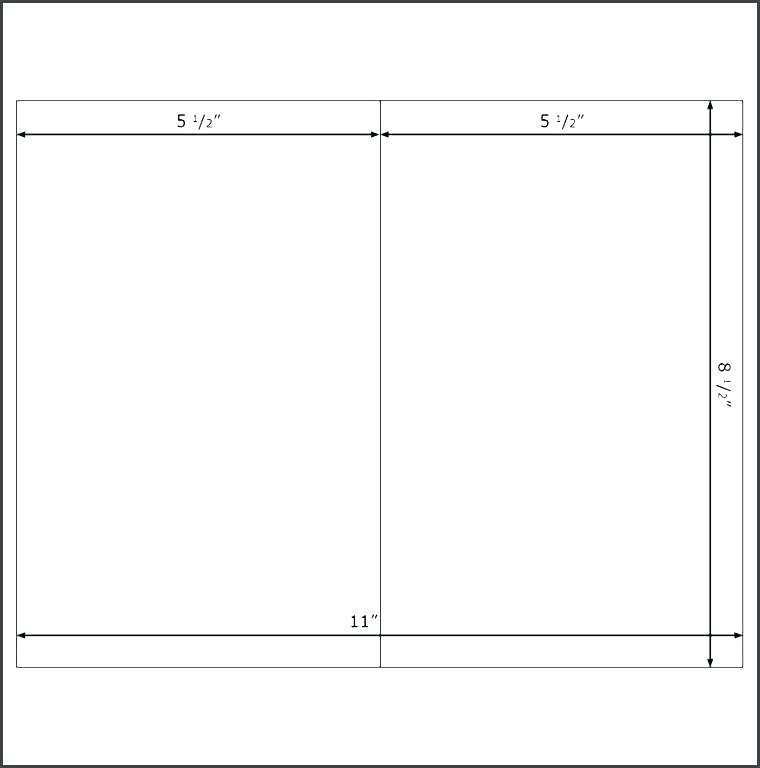
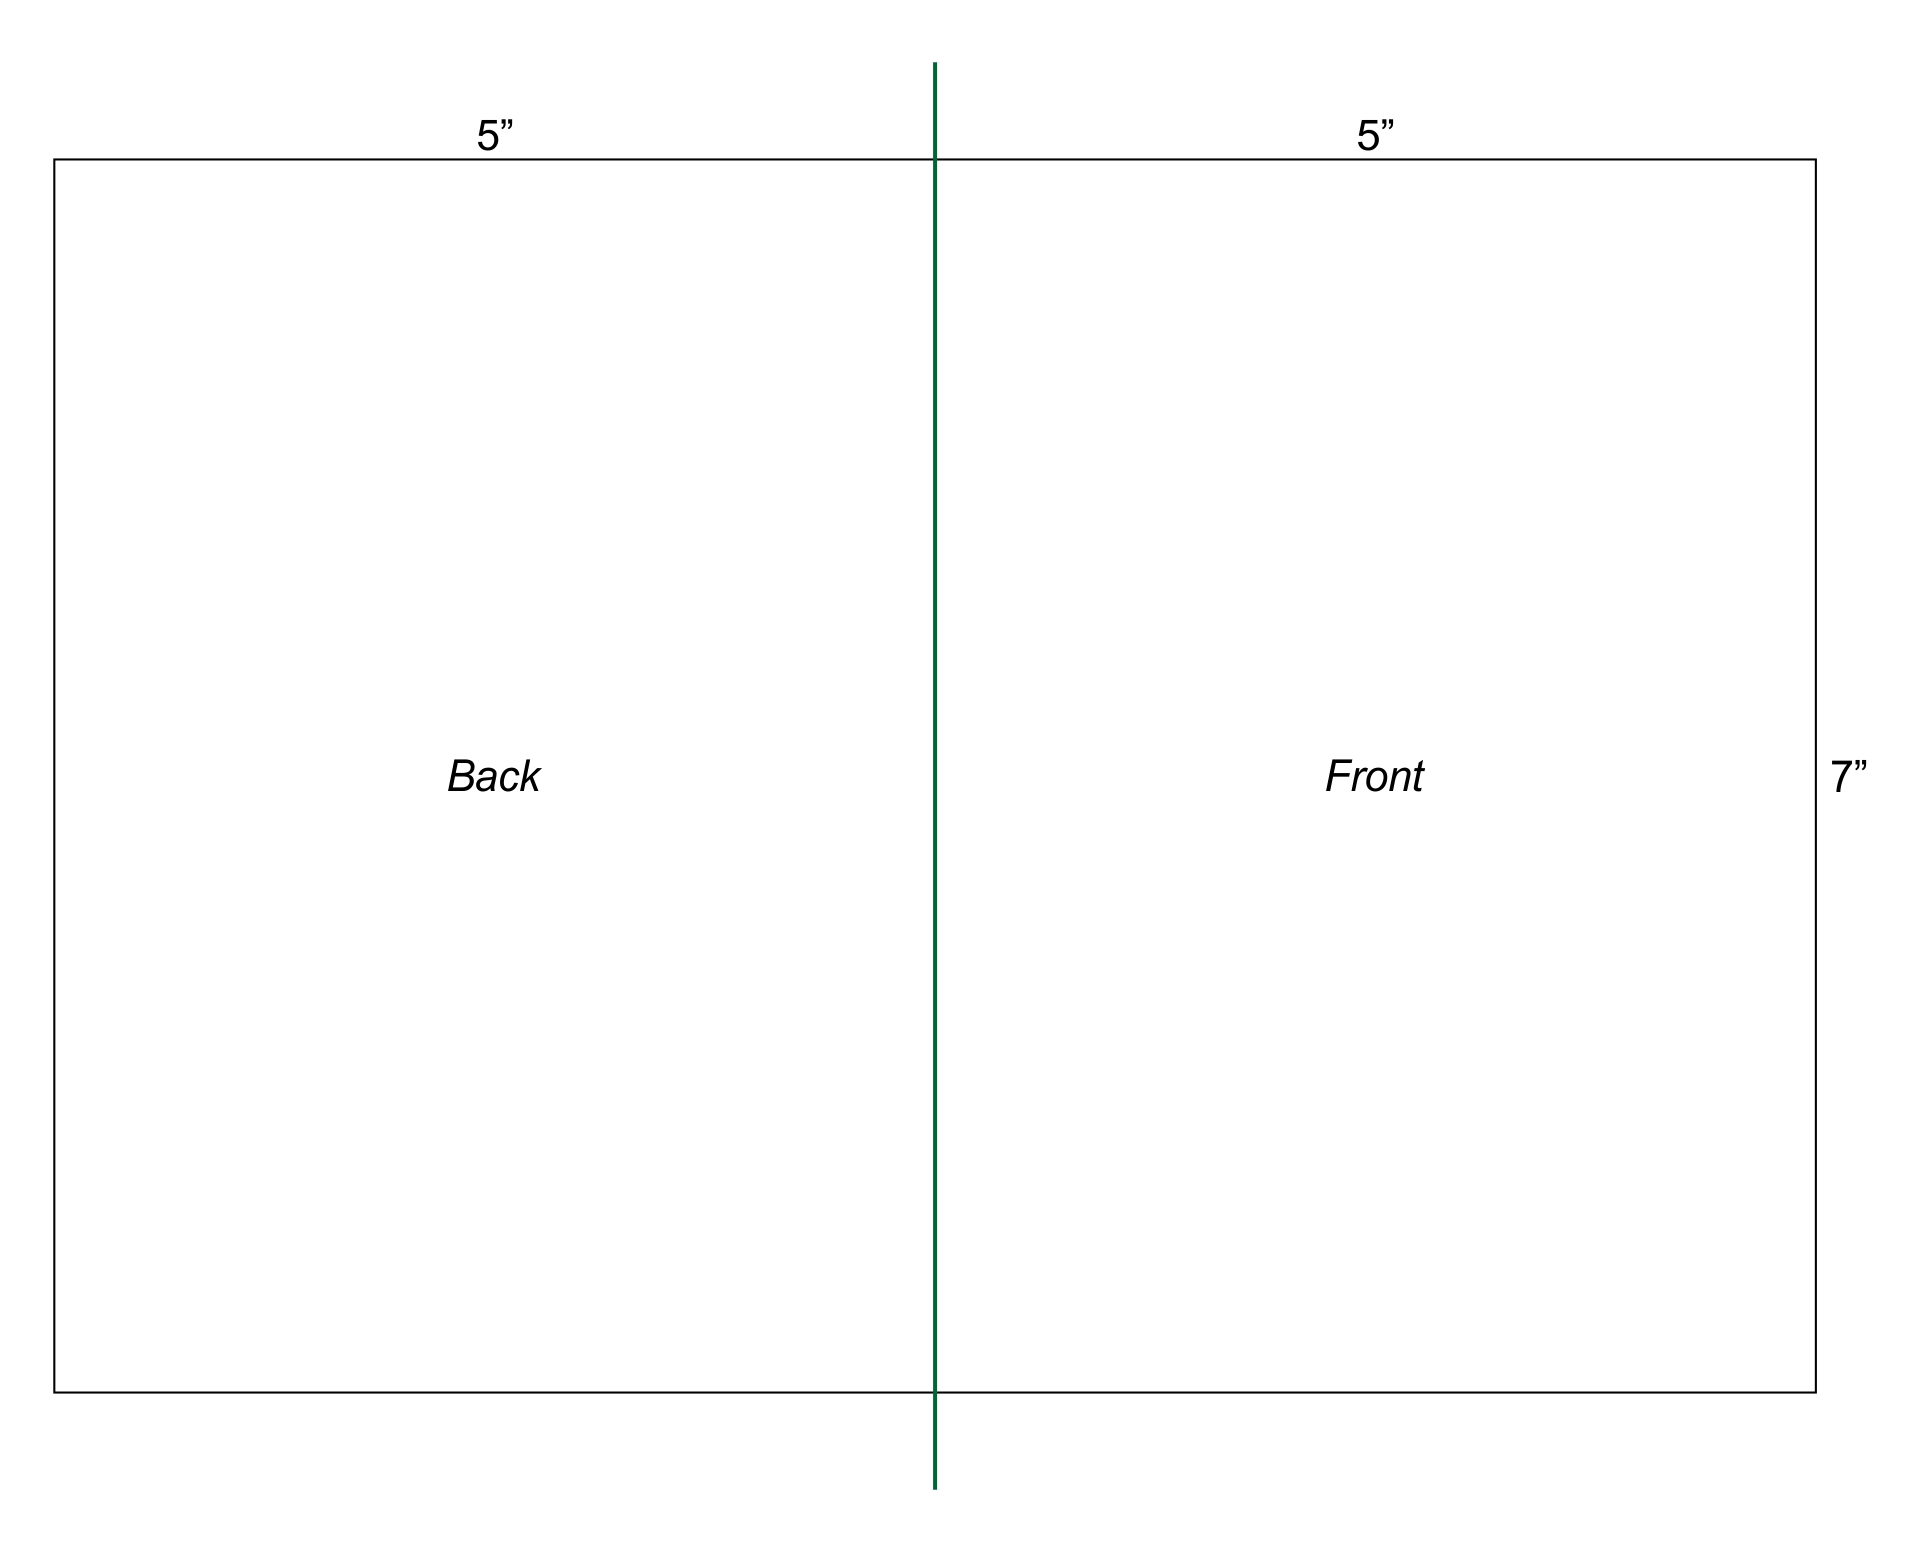
* Half-Fold Card: This is the most common type. A standard 8.5" x 11" sheet of paper is folded in half to create a 5.5" x 8.5" card. In a landscape orientation, the right half is usually the front of the card, and the left half is the back. The inside message is printed on a separate page or on the back of this page.
* Quarter-Fold Card: This layout creates a smaller, 5.5" x 4.25" card from a standard sheet. The paper is folded in half vertically and then in half again horizontally. On a portrait-oriented page, the bottom-right quadrant is typically the front cover, and the top-left quadrant is the inside message (which will be upside down on the screen).

Your template may have placeholder text like "Card Front" or "Inside Message Here" to guide you. If not, print a test page to see how it folds before you spend time designing.
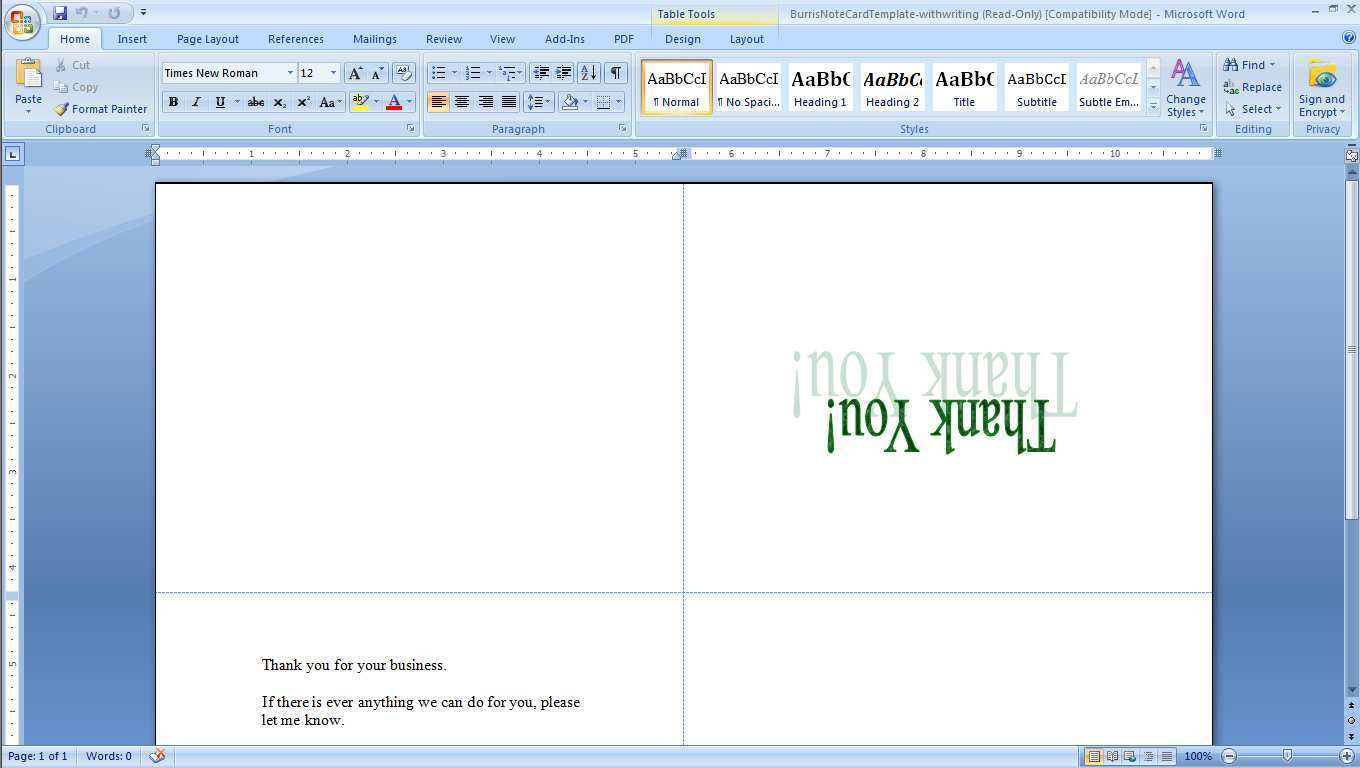
Step 3: Add and Customize Your Text
Click on any placeholder text boxes to start typing your message. You can personalize your text using the Home tab in Word's ribbon:
* Font: Choose a font, size, and color that fits the occasion.
* Alignment: Center your text or align it left or right for different stylistic effects.
* WordArt: For the main greeting on the front of the card (e.g., "Happy Birthday"), consider using Insert > WordArt to create more visually striking text.
Step 4: Insert Your Images
A personal photo is what makes a DIY card truly special. To add an image:
1. Click where you want the image to go.
2. Go to the Insert tab and click Pictures.
3. Choose This Device to upload a photo from your computer.
4. Once inserted, select the image to bring up the Picture Format tab. Here you can crop, resize, and position your photo.
5. Use the Wrap Text option (set it to "In Front of Text" or "Behind Text") for maximum control over placing your image exactly where you want it without disrupting other elements.
Advanced Customization to Make Your Card Stand Out
With the basics in place, you can add extra layers of polish to make your card look professionally designed. These tips will help you elevate your creation from simple to stunning.
Mastering Fonts
The fonts you choose set the entire tone of your card. For a sophisticated look, try pairing two complementary fonts: one for headings (a script or decorative font) and one for the body message (a clean, readable sans-serif or serif font). Websites like Google Fonts offer thousands of free, high-quality fonts you can download and install on your computer to expand your options beyond Word's defaults. Remember, readability is key for the inside message.
Working with Graphics and Backgrounds
Don't limit yourself to just photos. You can add other design elements:
* Shapes: Use the Insert > Shapes tool to add borders, lines, or decorative accents. You can change their color, outline, and even add shadow effects.
* Icons: Word has a built-in library of icons (Insert > Icons) that can add a modern, clean touch to your design. Search for relevant symbols like hearts, cakes, or stars.
* Page Color: For a simple yet elegant effect, you can change the background color of your entire card. Go to the Design tab and select Page Color. Choose a soft pastel for a subtle look. Be aware that this will use a lot of printer ink and works best if you have a printer that can print to the edge of the paper (borderless printing).
Crafting the Perfect Message
The inside of the card is where your heartfelt sentiment shines. Take a moment to think about the recipient. A personal anecdote, an inside joke, or a sincere expression of gratitude will mean far more than a generic phrase. If you're stuck, start by brainstorming a few keywords related to the person or the occasion, and build your message from there.
Printing and Finishing Your Card Like a Pro
The final steps of printing and finishing are what separate a good homemade card from a great one. Paying attention to these details will give your project a polished, high-quality feel.
Choose the Right Paper
The paper you print on makes a huge difference. For greeting cards, you should use cardstock. Standard printer paper is too flimsy and will result in a floppy, unprofessional card.
* Weight: Look for cardstock between 65 lb and 80 lb. This weight is sturdy enough to feel substantial but still flexible enough to go through most home printers.
* Finish: A matte finish is excellent for a classic, elegant look and is easy to write on. A glossy or satin finish can make photos and vibrant colors pop but may be harder to write a personal note on with certain pens.
Configure Your Printer Settings
Before you hit "Print," dive into your printer's settings.
1. Go to File > Print.
2. Select your printer and click on Printer Properties.
3. Paper Type: Change the setting from "Plain Paper" to "Cardstock," "Matte Photo Paper," or the closest equivalent. This tells the printer to use more ink and move the paper more slowly for better quality.
4. Print Quality: Set the quality to High or Best.
5. Test Page: Always print a draft on regular paper first to check for typos and make sure the layout folds correctly. This saves you from wasting expensive cardstock.
The Art of Cutting and Folding
For a truly professional finish, precision is key.
* Cutting: Instead of scissors, use a paper trimmer or a craft knife and a metal ruler to get perfectly straight edges. If your template has cut lines, use them as a guide.
* Folding: To avoid a soft, bubbly fold, score the card first. Use a bone folder or the back of a butter knife and a ruler to press a crease along the fold line. This breaks the paper's fibers and allows for a sharp, crisp fold every time.
Conclusion
Creating personalized greeting cards is a simple, enjoyable, and meaningful way to connect with the people you care about. By leveraging the power of Microsoft Word and the abundance of free blank greeting card templates for Word available online and within the program itself, you have a complete design studio at your disposal. The process puts you in full creative control, allowing you to tailor every element—from the photos and colors to the fonts and heartfelt message—to perfectly suit the occasion and the recipient.
We've covered the entire process, from understanding why Word is an ideal tool to finding the best templates, customizing them with your unique touch, and executing a flawless print and finish. Remember that the best card is one that comes from the heart. The technical skills are easy to master, but it's the personal sentiment you infuse into your design that transforms a simple piece of cardstock into a treasured keepsake. So the next time an occasion arises, skip the store and open up Word. Your friends and family will surely appreciate the extra thought and care you put into creating something truly special just for them.
0 Response to "Free Blank Greeting Card Templates For Word"
Posting Komentar